FLIR GW65 Vibration Sensors
The flir-south-gw65 plugin provides a mechanism to connect the FLIR vibration sensors, via the GW65 gateway to FLIR Bridge. The plugin allows the GW65 to be used to connect sets of the SV87 vibration sensors. Raw vibration data is then collected from the sensors and may be process by one or more of the filters that offer vibration analysis.
The connection between the sensors and the plugin, via the GW65 gateway as established using the FLIR mobile application, before starting this process however you must install and configure the flir-south-gw65 plugin. The plugin may be installed either by the user interface or by using the package manager of your Linux system to install it manually from a package.
You must also have an MQTT broker configured and running on your network. This should be configured to allow MQTTS and also have a username and password for the FLIR gateway to use.
Creating the GW65 South Service
Using the normal procedure for creating a new south service in FLIR Bridge,
Select the South item from the menu on the left hand side of the screen
Click on the Add + link on the top left of the South service screen
In the list of available plugins choose the gw65 entry, if it is not in the list click on the available plugins link and install it.
Enter a name for your service and click on Next
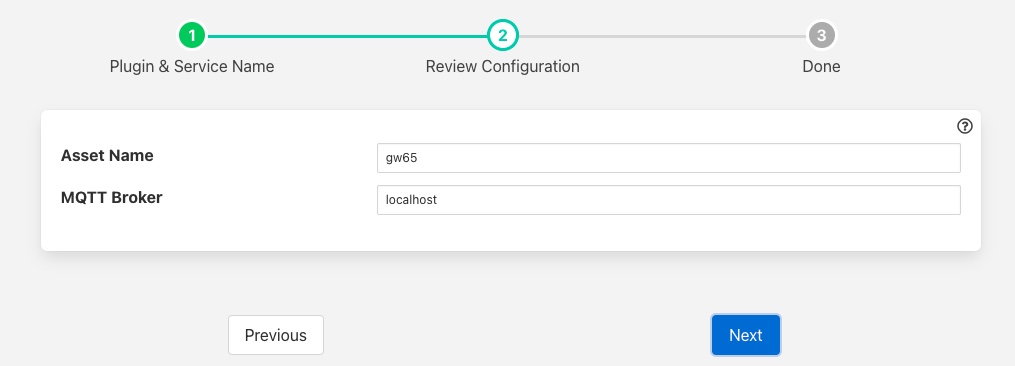
The configuration page will appear
Asset Name: The asset name to use as a fallback asset. This is normally unused.
MQTT Broker: The address of the MQTT broker that will be used to communicate with the GW65 gateway.
Enter the address of your MQTT broker, this must be the public address of the machine and not be localhost or the address 127.0.0.1 even when running your MQTT broker on the same machine as the FLIR Bridge. The information will be passed on to the GW65 gateway and must be an address to which the GW65 can route.
Click on Next
Enable the service and click on Done
You may now proceed to configure the GW65 using the FLIR mobile application. It is important than the south service within FLIR Bridge is running before this process is started.
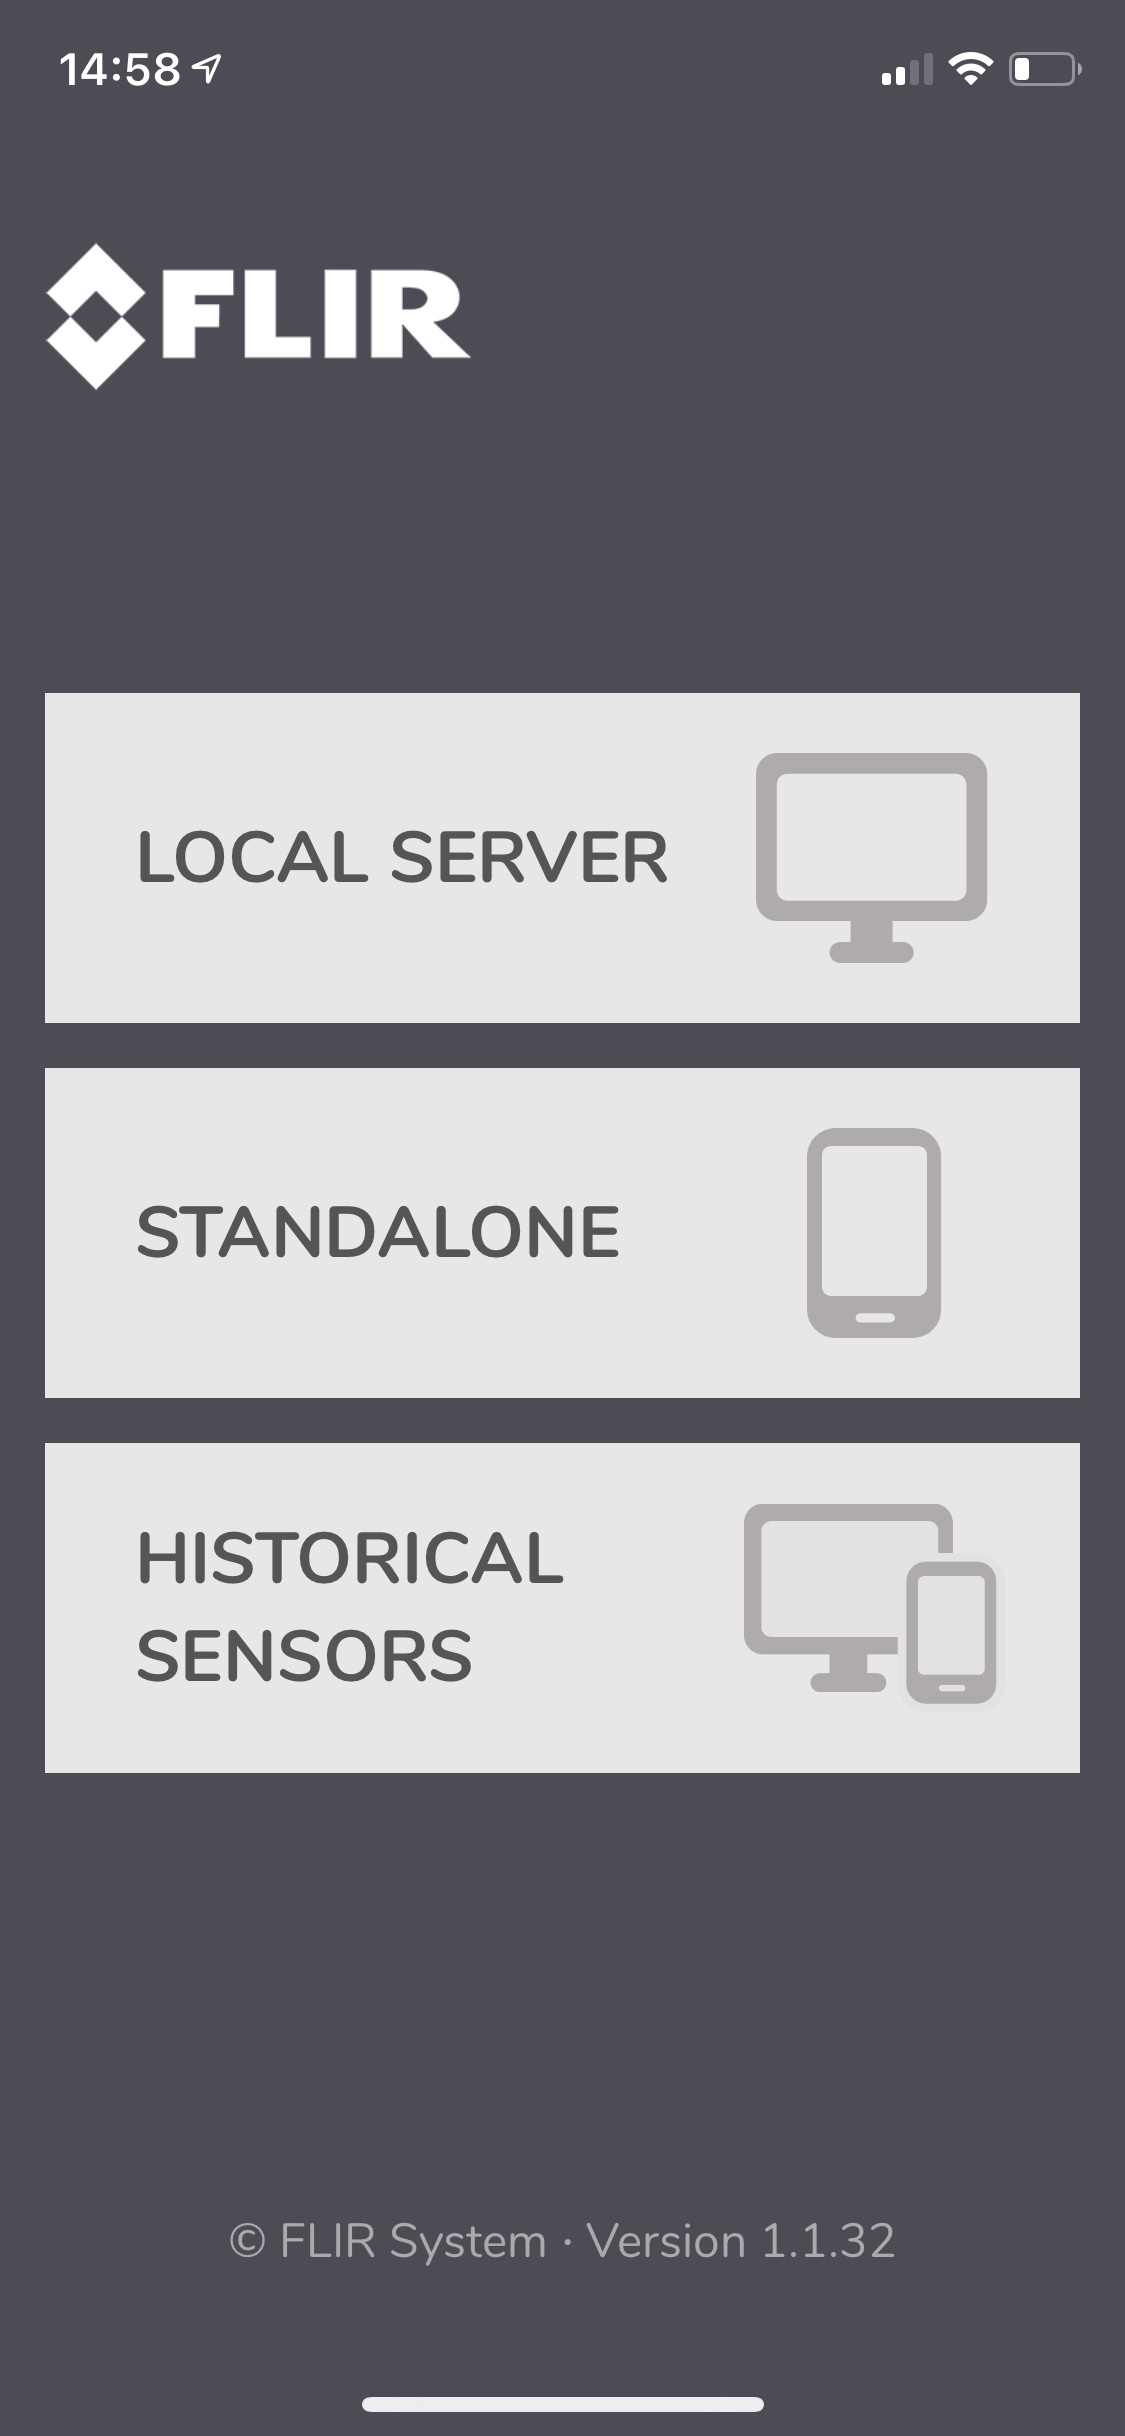
Open the FLIR application and select the LOCAL SERVER option.
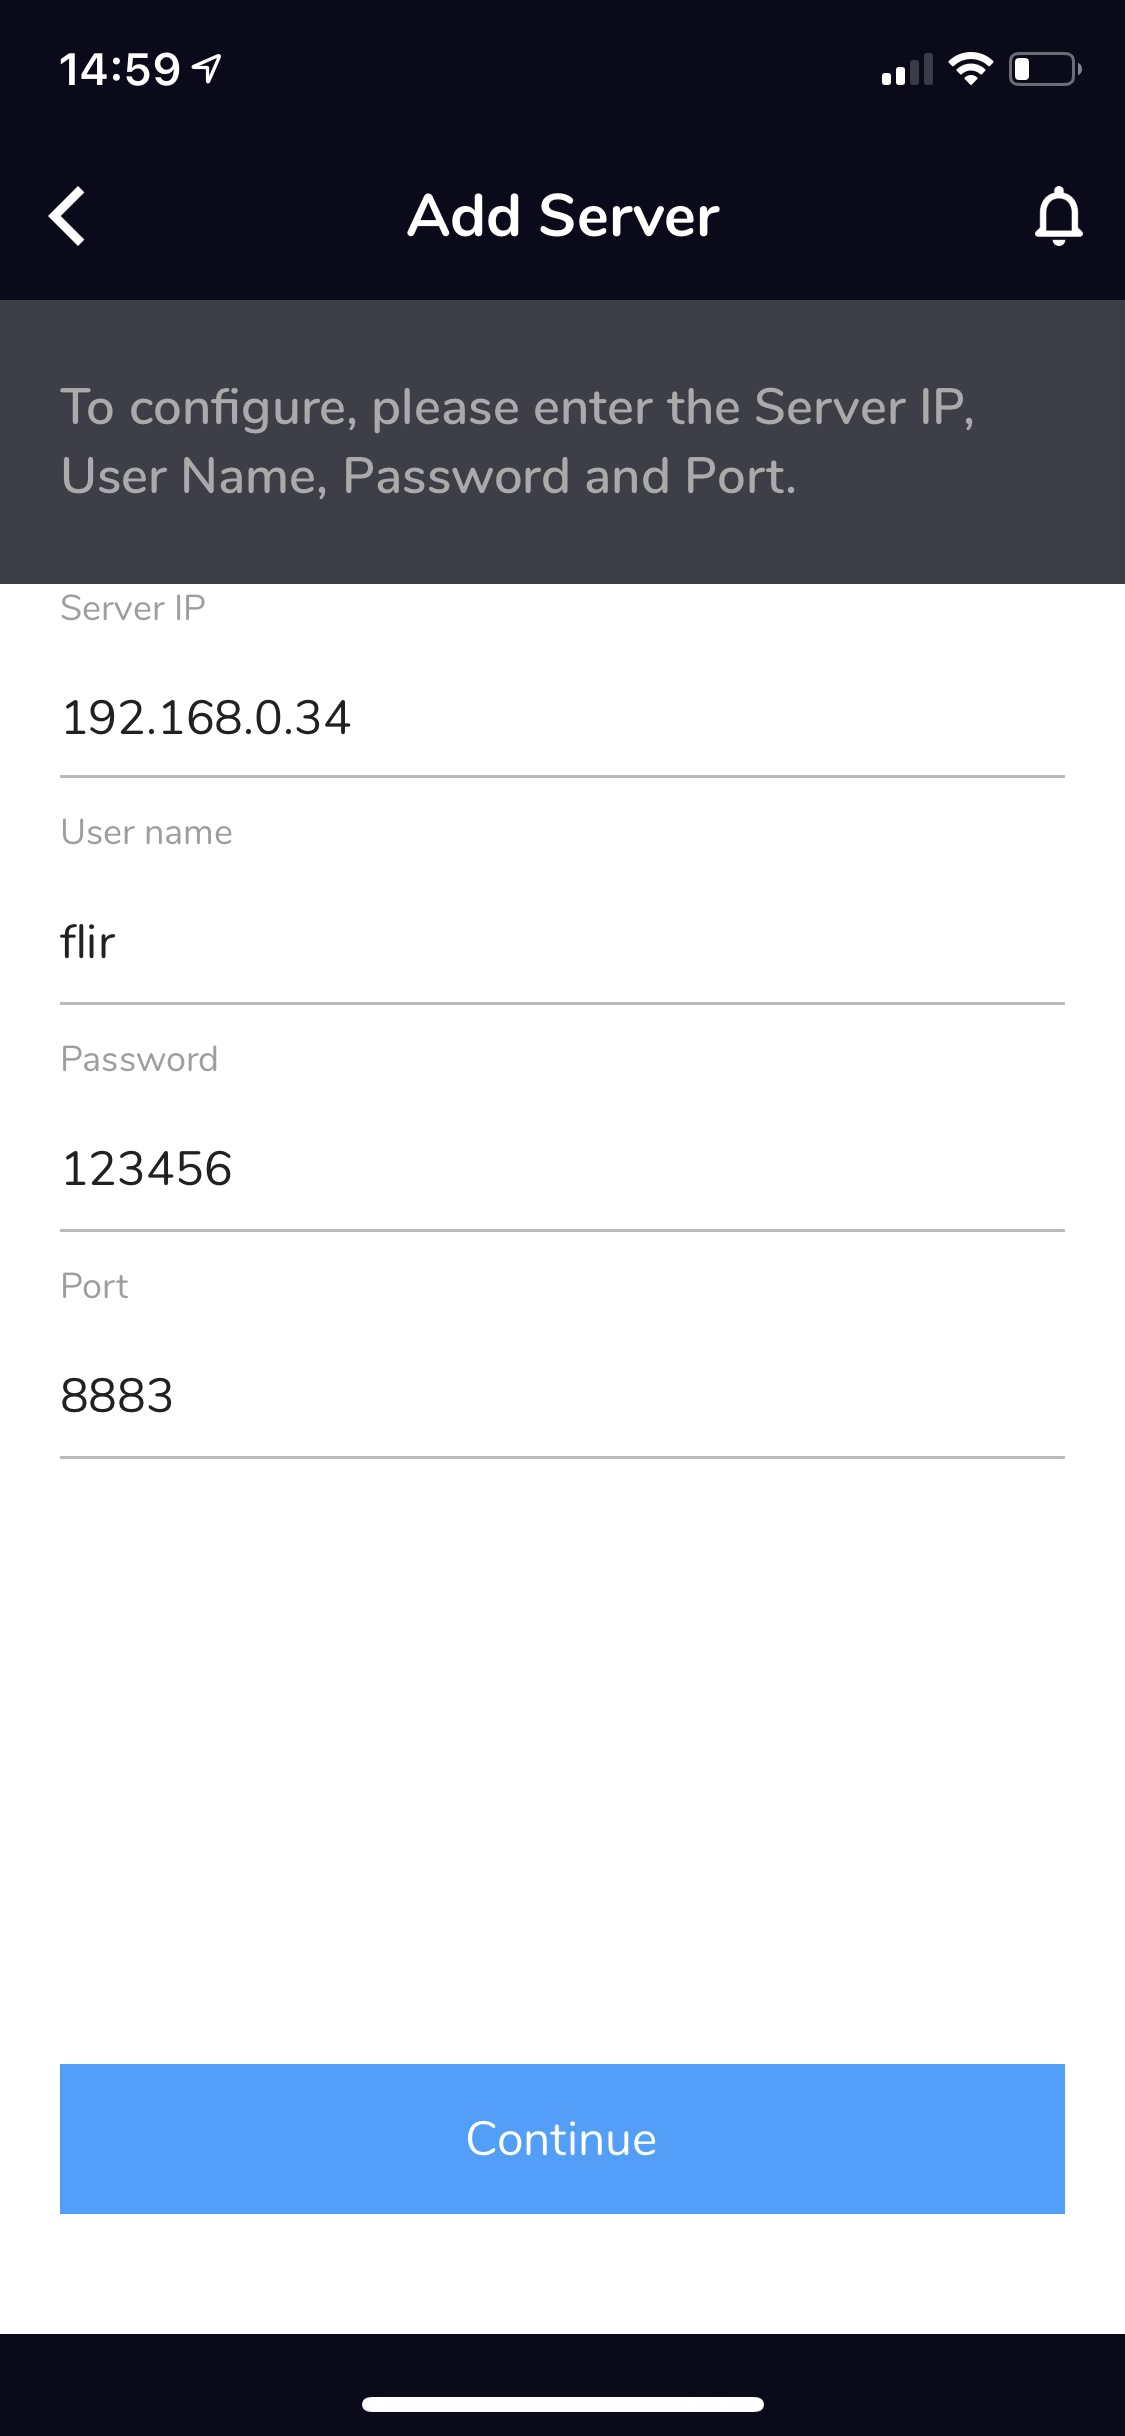
Click on the Add Server link
Server IP: This is the IP address of your MQTT server. This should be the same as was entered into the south service that was created in FLIR Bridge.
User name: The user name you configured in your MQTT server. The default value is flir.
Password: The password assigned to the above user. The default is 12345678.
Port: Leave this as the default value 8883
Click on Continue
If the application responds with the error “Invalid IP Address” this could mean one of many things
The IP address you entered was incorrect
Your phone is not on the same network as FLIR Bridge
The username and password entered were incorrect
The south service for the GW65 is not running on the FLIR Bridge
Click on the name of the discovered gateway and follow the steps to setup a connection to the WiFi network
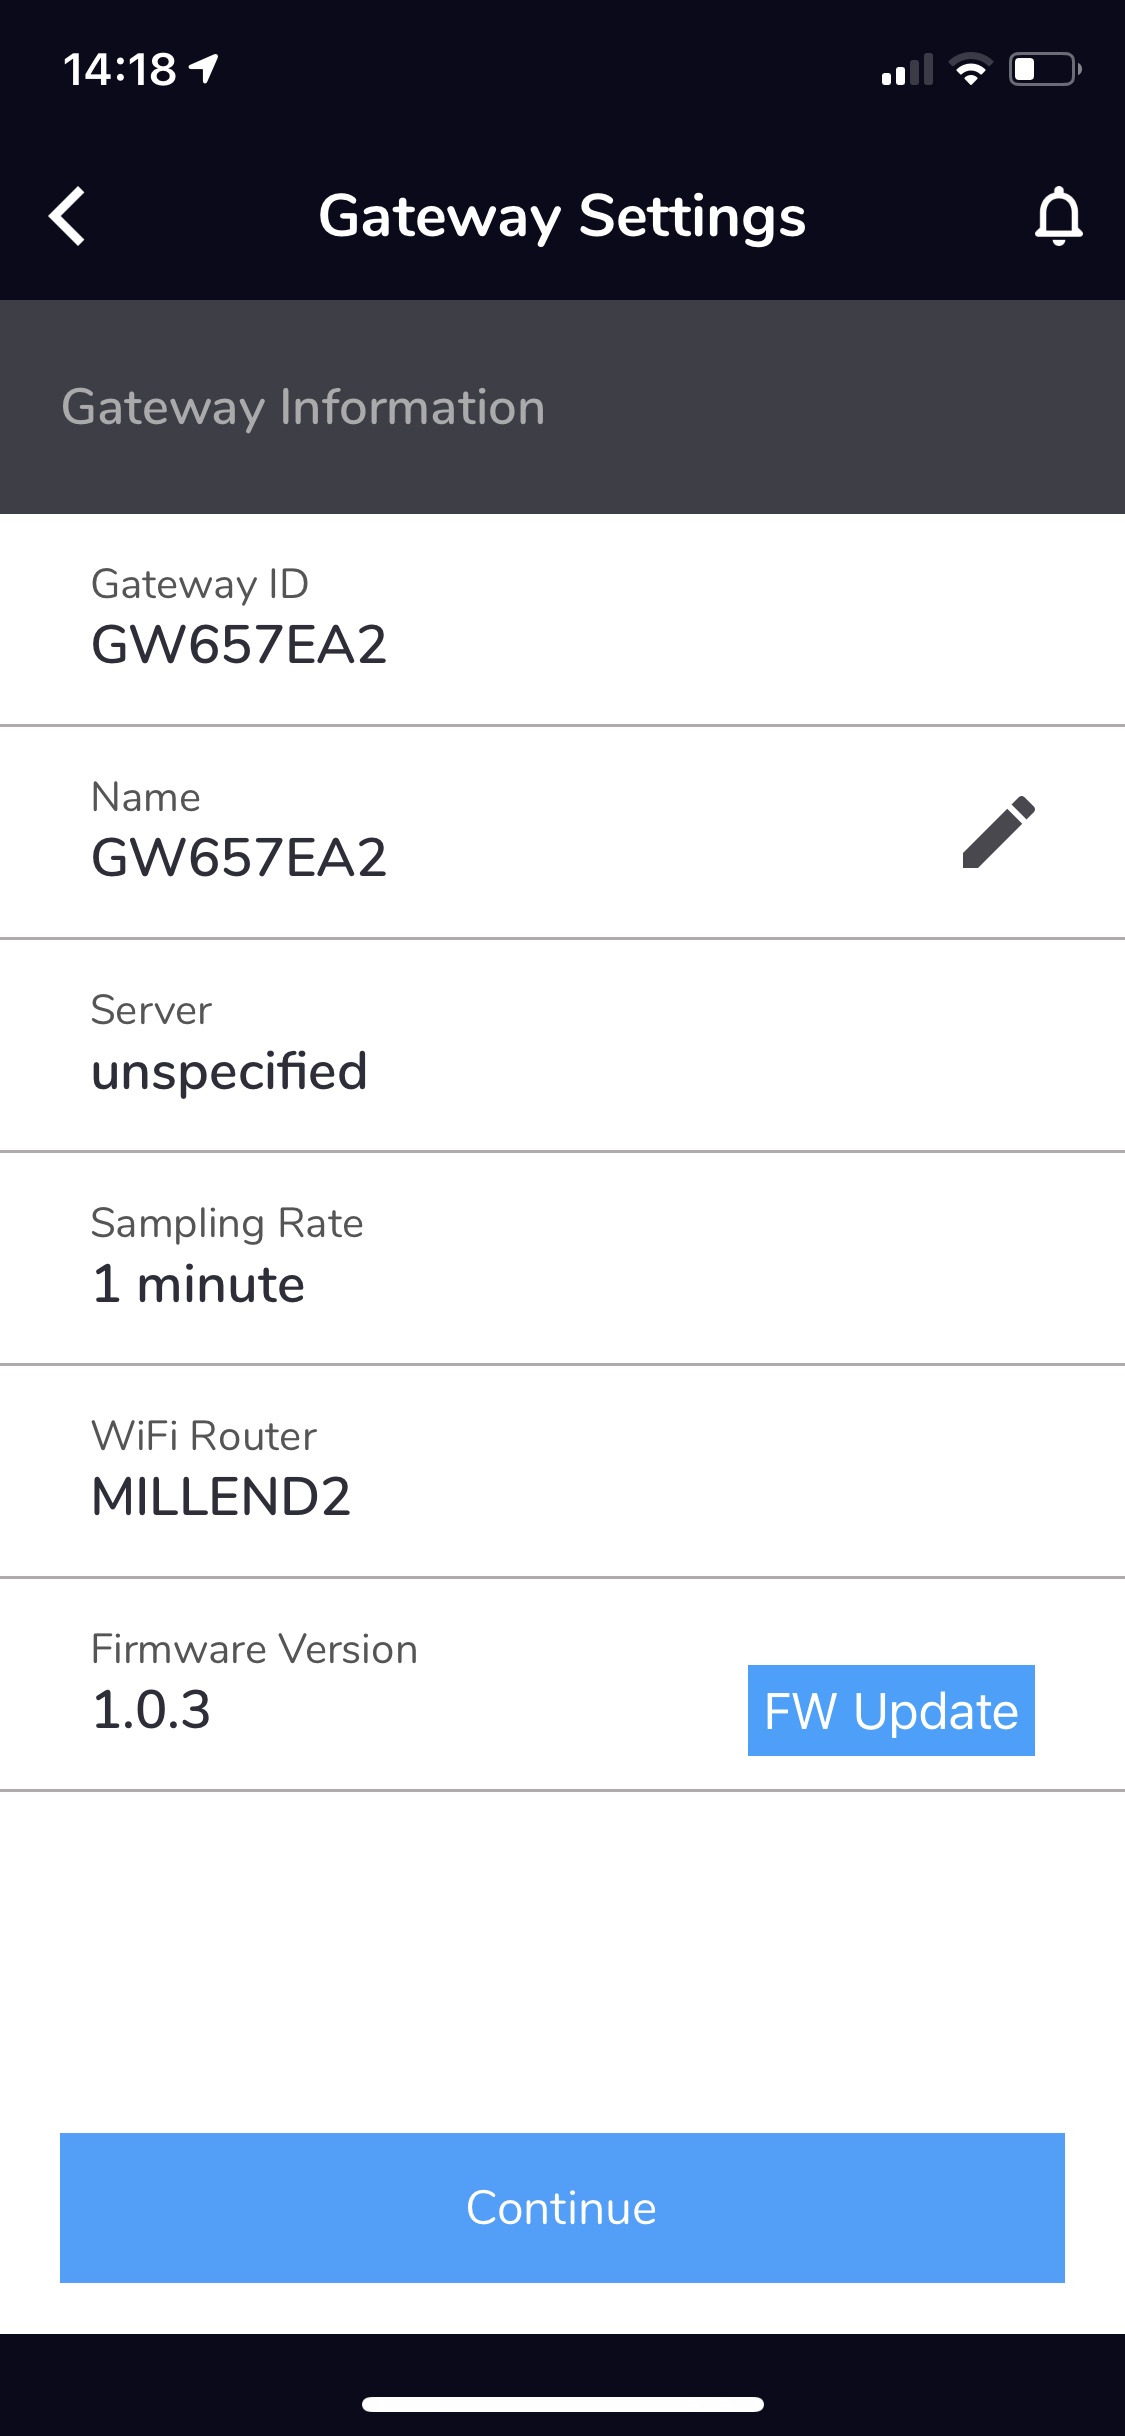
You will see the details of your GW65 gateway
Click on Continue and follow the instructions to add your sensors
Installing an MQTT Broker
You may use any compatible MQTT broker with the plugin and FLIR GW65 gateway, during testing the Mosquitto MQTT broker was used, a package exists that allows this to be installed and configured for use with gateway, this package is called flir-mqtt-broker.
To use the package simply use your package manager to install the package, for example on a apt based system such as Ubuntu
apt install flir-mqtt-broker
This will
Install the mosquitto MQTT service
Configure it with a certificate
Add a user with the username flir and the password 12345678
Start it listening on port 8883 for MQTTS
Alternatively you can manually configure the Mosquitto MQTT browser by using the following steps
Edit the configuration file /etc/mosquitto/mosquitto.conf and adding the following lines
# Start of MQTTS support
listener 8883
cafile /etc/mosquitto/certs/ca.crt
certfile /etc/mosquitto/certs/client.crt
keyfile /etc/mosquitto/certs/client.key

password_file /etc/mosquitto/passwordfile
# End of MQTTS support
Create a password file by running the command
touch /etc/mosquitto/passwordfileCreate the flir user, the password shown here is 12345678 but any password can be used but must be set in the GW65 configuration application.
mosquitto_passwd -b /etc/mosquitto/passwordfile flir 12345678Generate the required certificates
mkdir /etc/mosquitto/certs
cd /etc/mosquitto/certs
openssl req -new -x509 -days 365 -extensions v3_ca -keyout ca.key -out ca.crt -subj "/C=RO/ST=Home/L=Home/O=Dianomic/OU=FLIR Bridge/CN=dianomic.com" -passout pass:flir
openssl genrsa -out client.key 2048
openssl req -new -out client.csr -key client.key -subj "/C=RO/ST=H/L=Home/O=MQTT Broker/OU=MQTT Broker/CN=mqtt-broker.local"
openssl x509 -req -in client.csr -CA ca.crt -CAkey ca.key -CAcreateserial -out client.crt -days 365 pass:flir
openssl rsa -in client.key -out client.key
Set permissions for Mosquitto MQTT
chown -R mosquitto:/etc/mosquitto
chmod 700 /etc/mosquitto/certs
Then restart your MQTT broker
systemctl restart mosquitto


